Running ONNX GenAI Model on GPU - How to Set Up Driver, CUDA 13, cuDNN, and NuGet
Background
In my previous two articles, I walked through edge AI development on the .NET stack using the ONNX model format. Those posts relied on CPU hardware. In this article, I will extend that path and use a GPU for GenAI inference. If you want to know how much faster inference can get on GPU—or how to set up a local CUDA environment on Windows—this post is for you. Let’s get started.
Model
As I mentioned in the first article in this series, the Phi-3-Mini-4K-Instruct-onnx model ships in several variants for different compute targets: cuda, directml, and cpu_and_mobile.
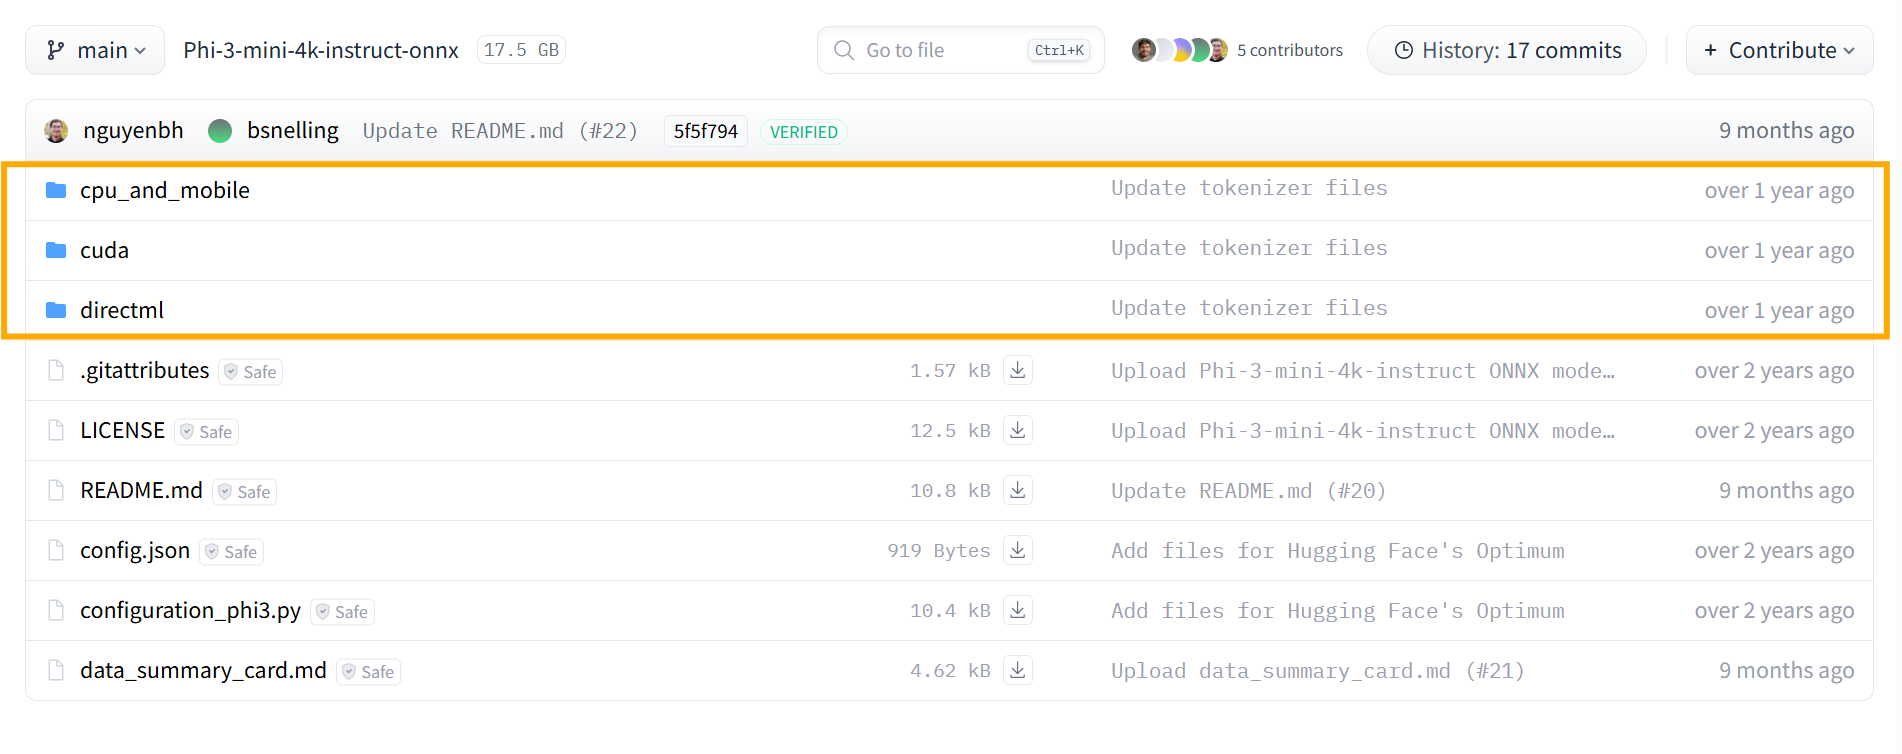
In that earlier post we used the cpu_and_mobile build. Today we switch to the cuda folder. We still use a quantized model; the weight file is about 2.3 GB.
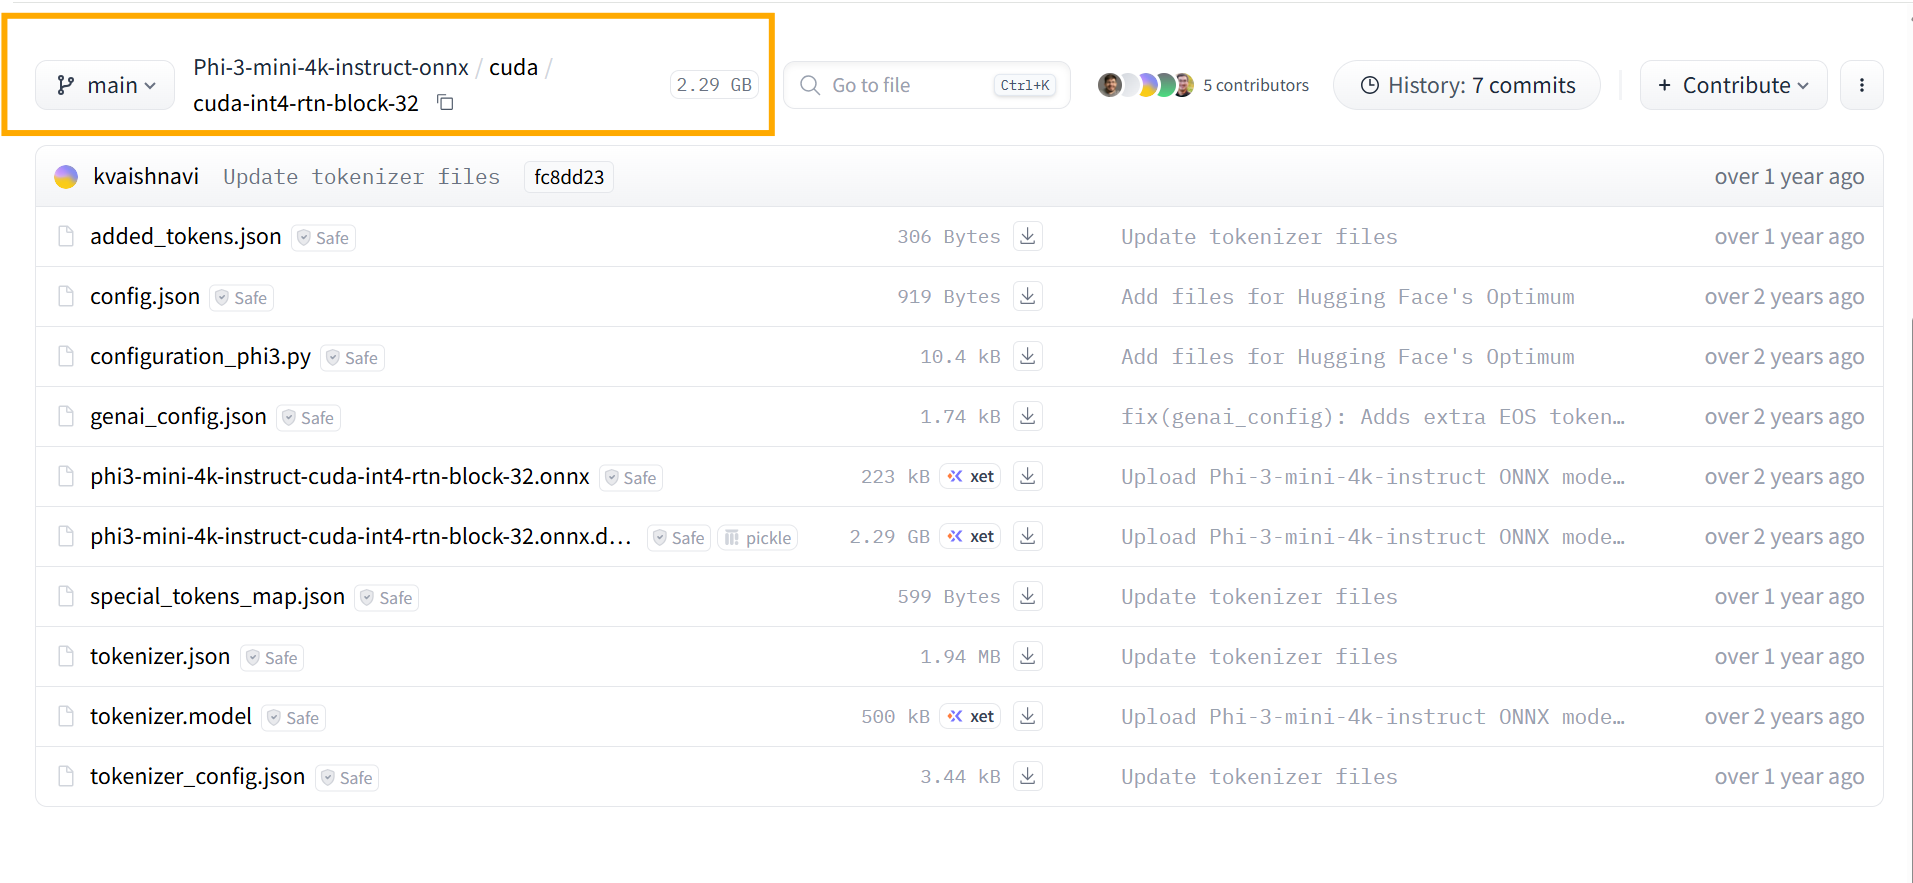
The model’s genai_config.json makes the execution provider explicit—provider_options is set to CUDA:
1 | { |
Next step, let’s look at the hardware I used for this demo.
GPU hardware
My machine has an NVIDIA RTX PRO 4000 Blackwell Generation Laptop GPU:
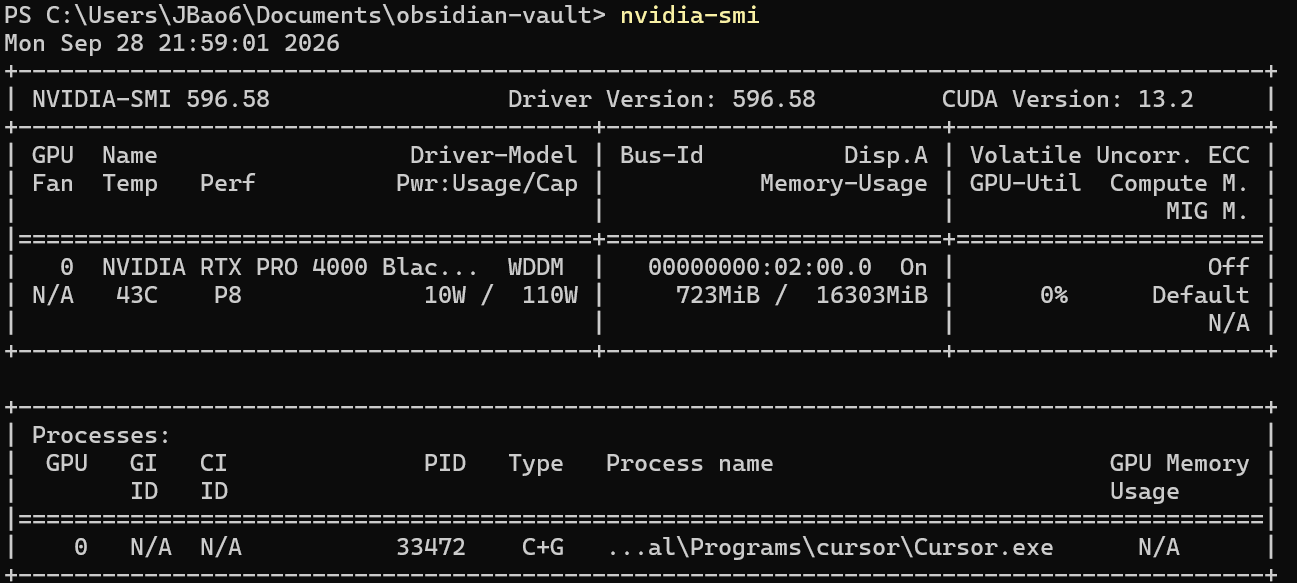
It has 16 GB of VRAM—enough headroom for small models like Phi-3-Mini-4K-Instruct-onnx. Great, right?
Environment
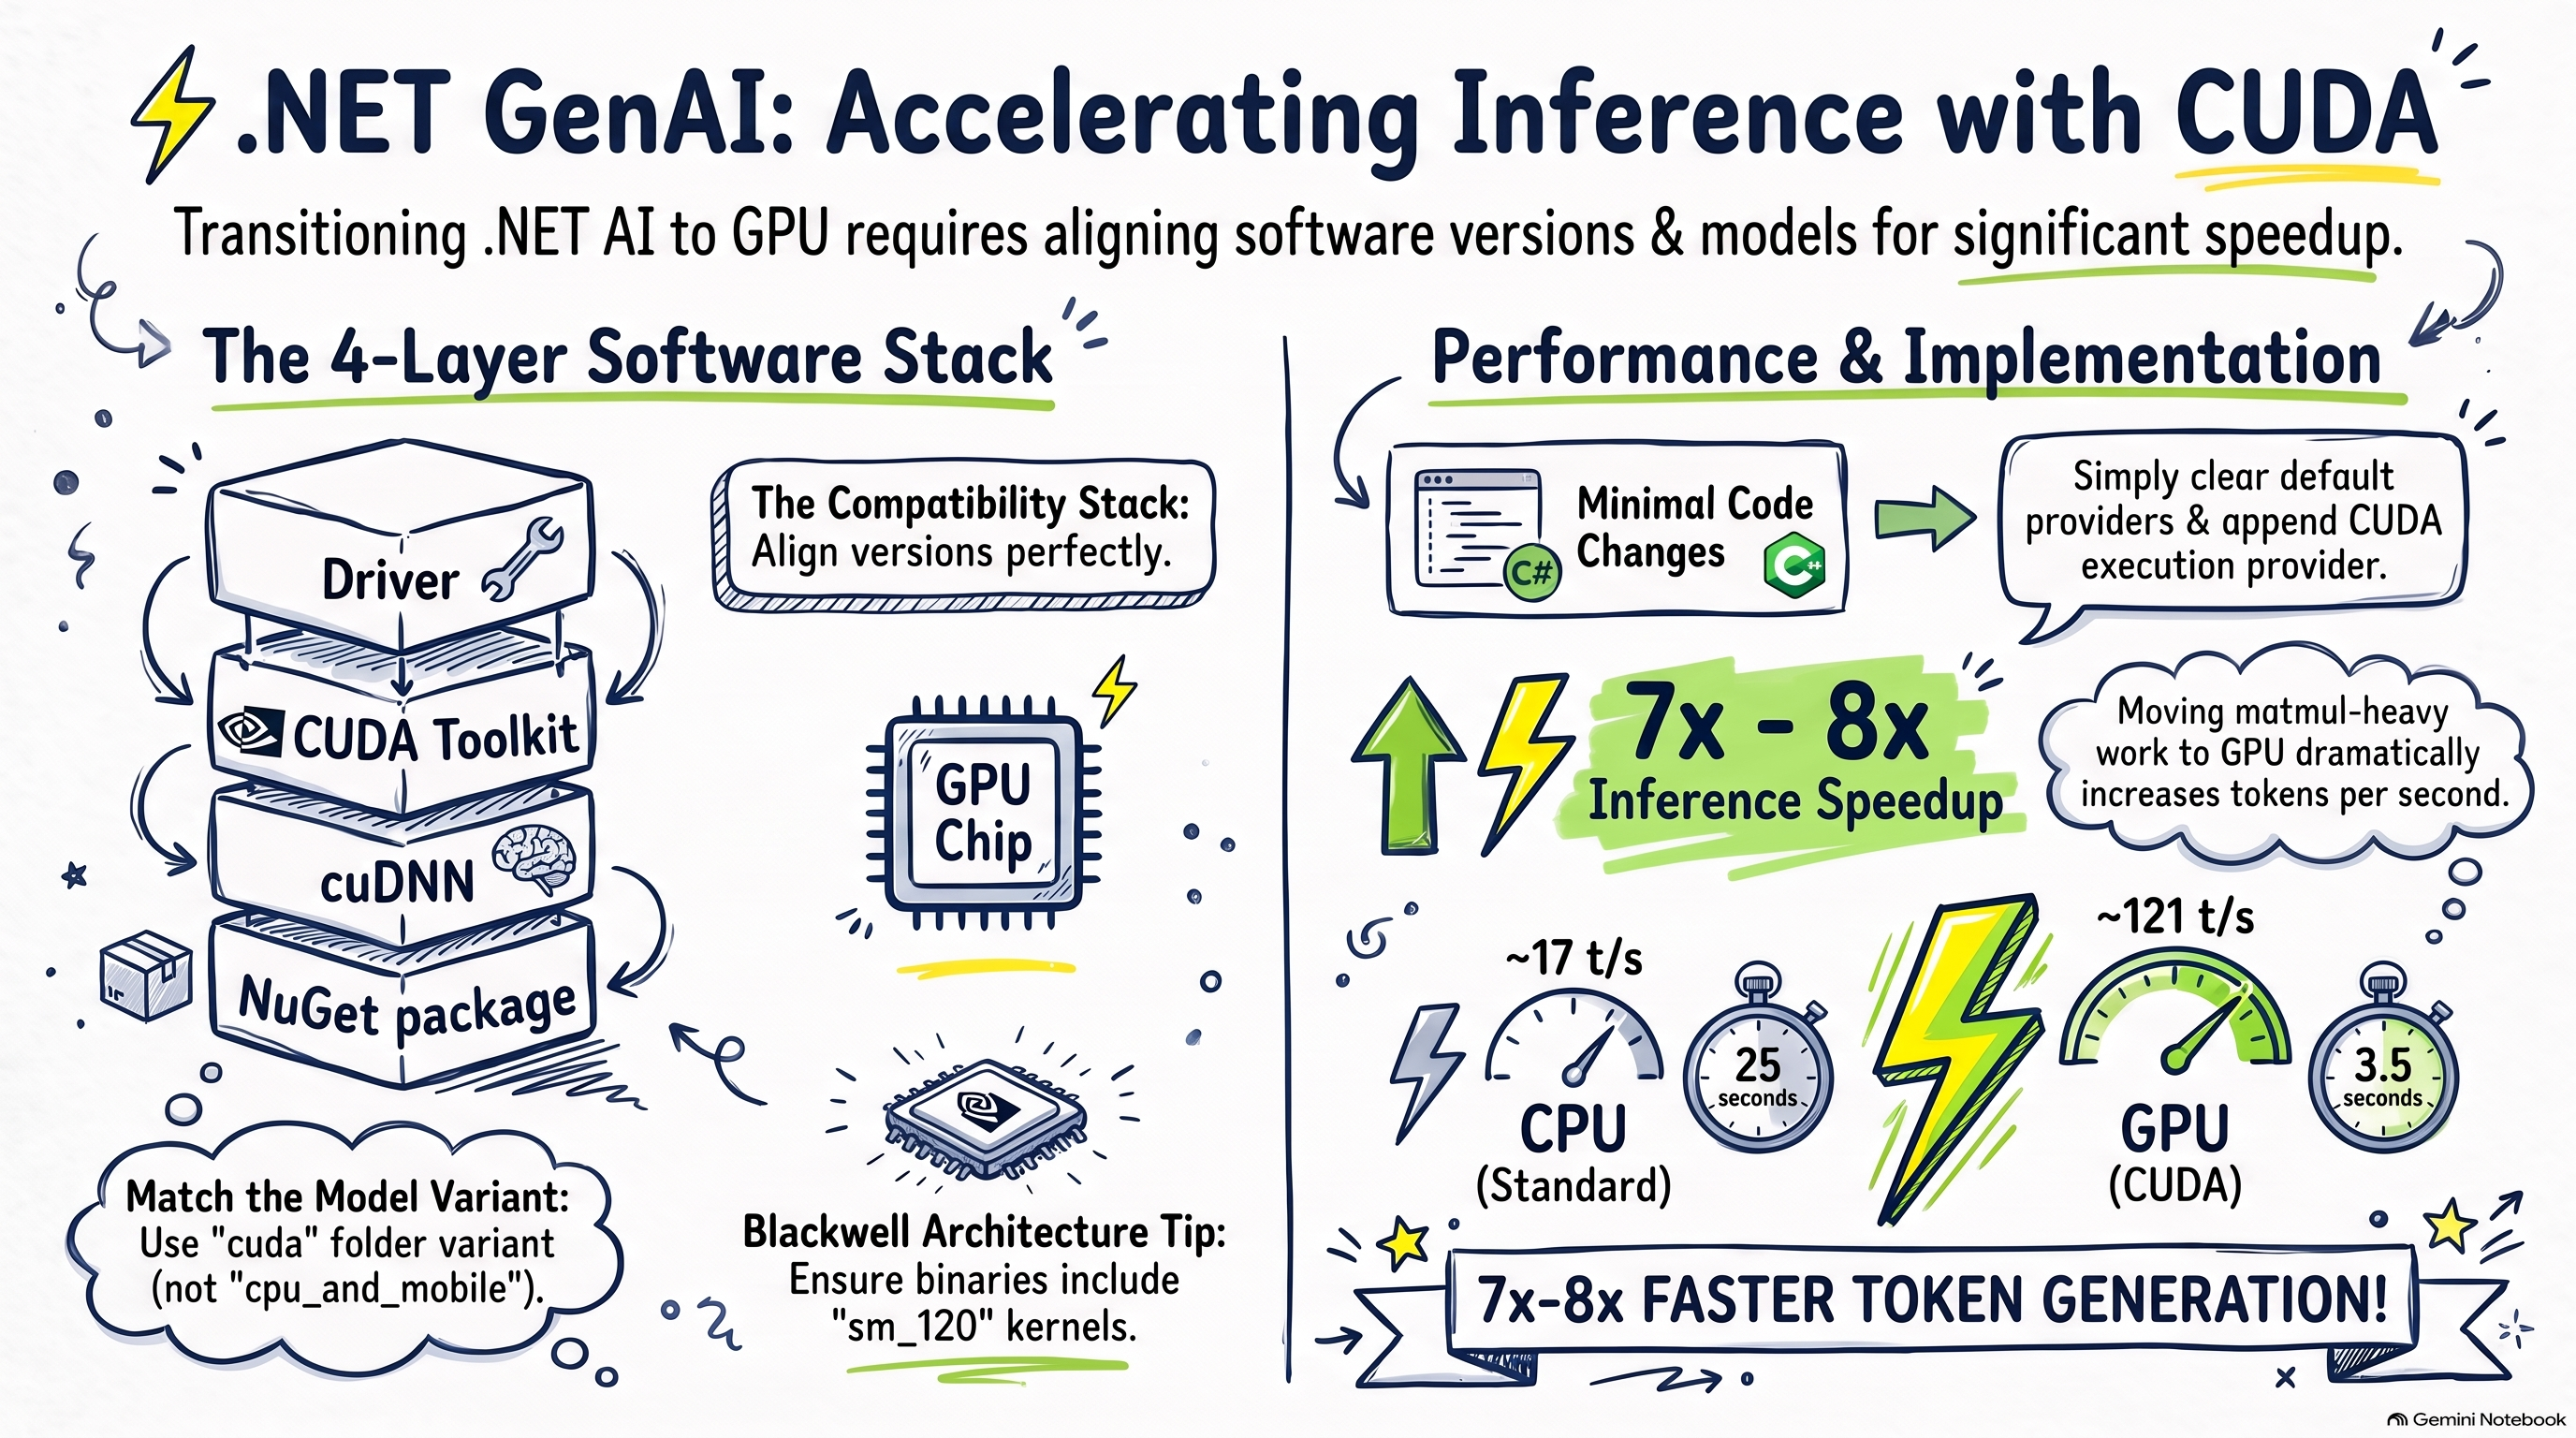
To run this ONNX model on GPU with CUDA, you need four layers of software on top of the hardware:
- NVIDIA driver — required for any GPU workload; nothing special to add here.
- CUDA Toolkit — the CUDA SDK (compiler, runtime, debugger, and related tools). Pick a toolkit version that matches your GPU generation. On my Blackwell laptop I use CUDA 13.4. Installing the toolkit takes time, so confirm your GPU architecture and the ORT/GenAI package requirements before you install.
- cuDNN — NVIDIA’s deep learning primitives library; ONNX Runtime GPU depends on it.
Microsoft.ML.OnnxRuntimeGenAI.Cuda— the .NET package for CUDA. It pulls in native dependencies such as ONNX Runtime GPU. Package version must align with your CUDA stack—for example, 0.16.0 targets the CUDA 13 line.
Setting this up involves trial and error; give yourself some patience. Once everything is in place, we can move to the demo.
Demo
Switching from CPU to GPU does not require rewriting your agent. You mainly change how the model is loaded.
Lower-level API:
1 | using Microsoft.ML.OnnxRuntimeGenAI; |
Higher-level API (Microsoft.Extensions.AI):
1 | using Microsoft.Extensions.AI; |
The important line is AppendProvider("cuda").
As we mentioned above, the model folder must be the cuda variant (not cpu_and_mobile). The config snippet simply tells ONNX Runtime GenAI to use the CUDA execution provider at runtime.
CPU vs GPU throughput
First, the CPU run:
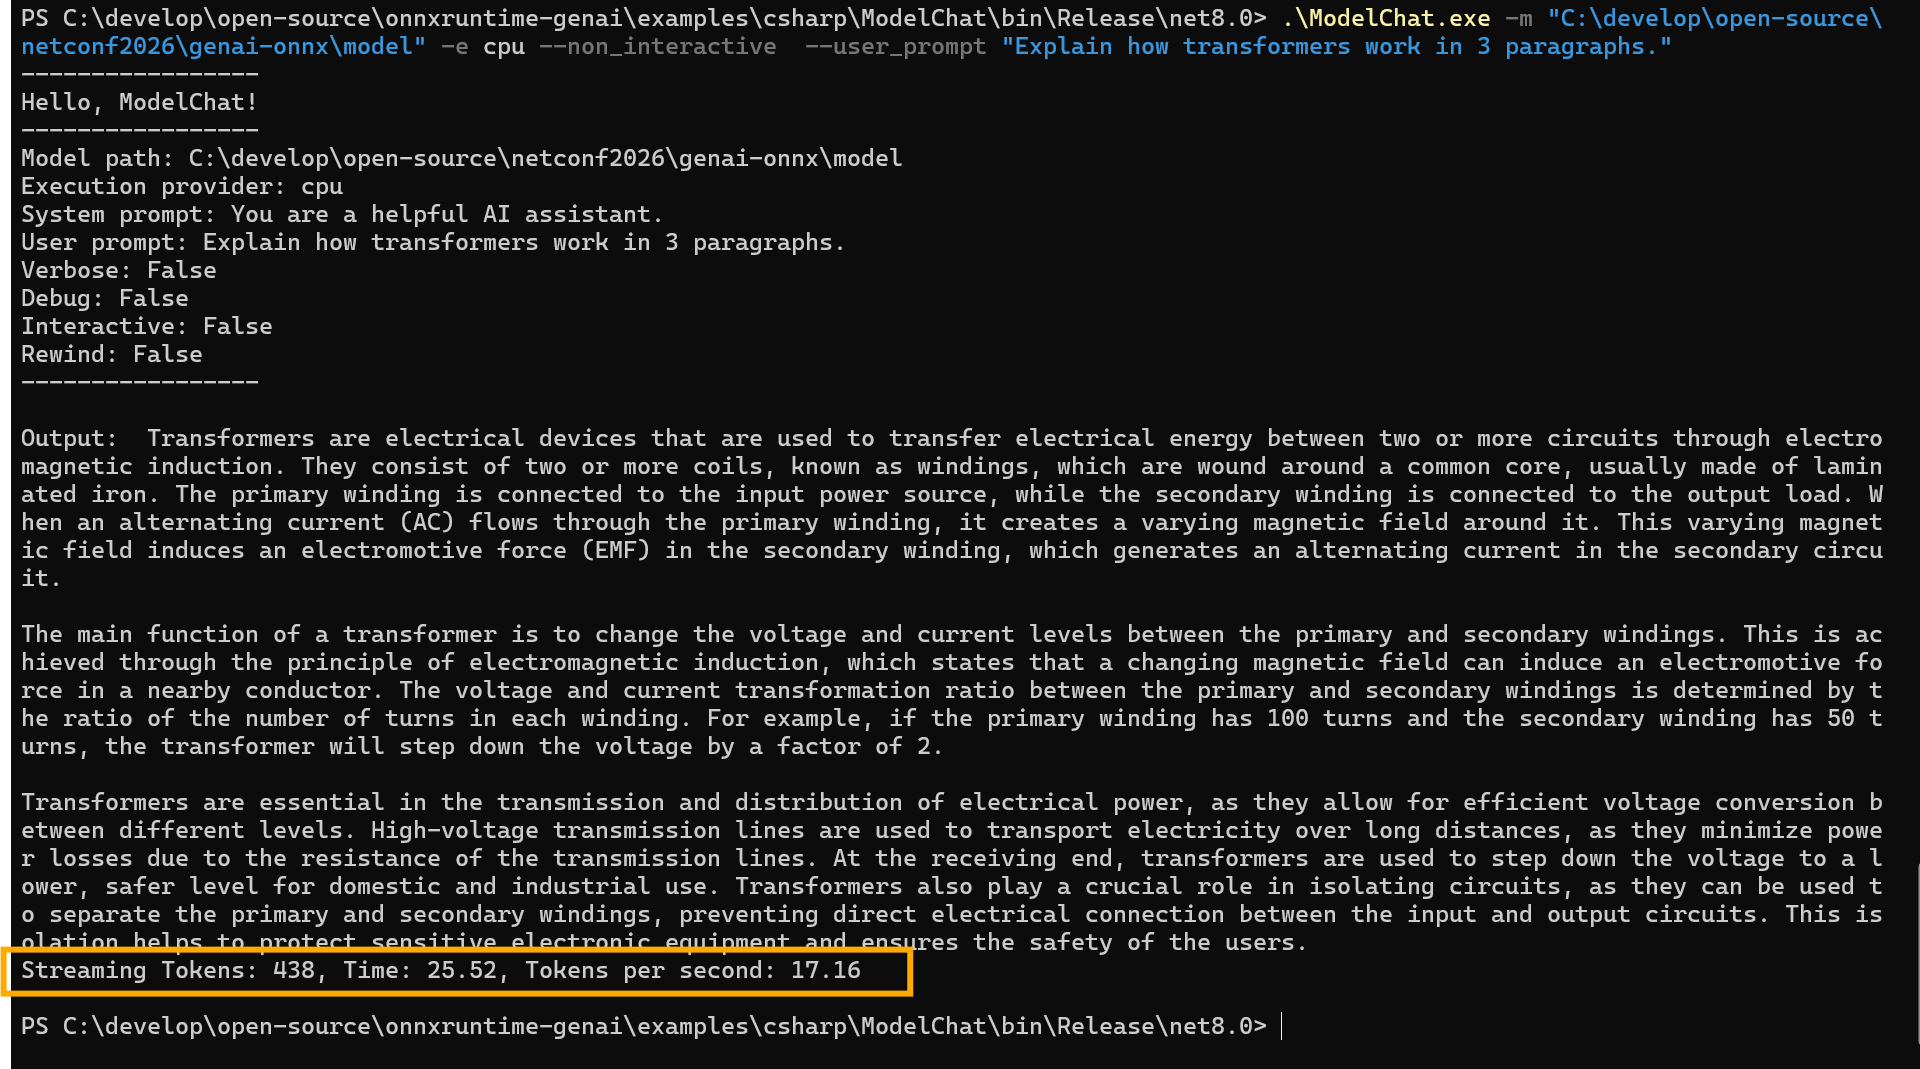
438 tokens in 25 seconds — about 17 tokens/s.
Then the GPU run:
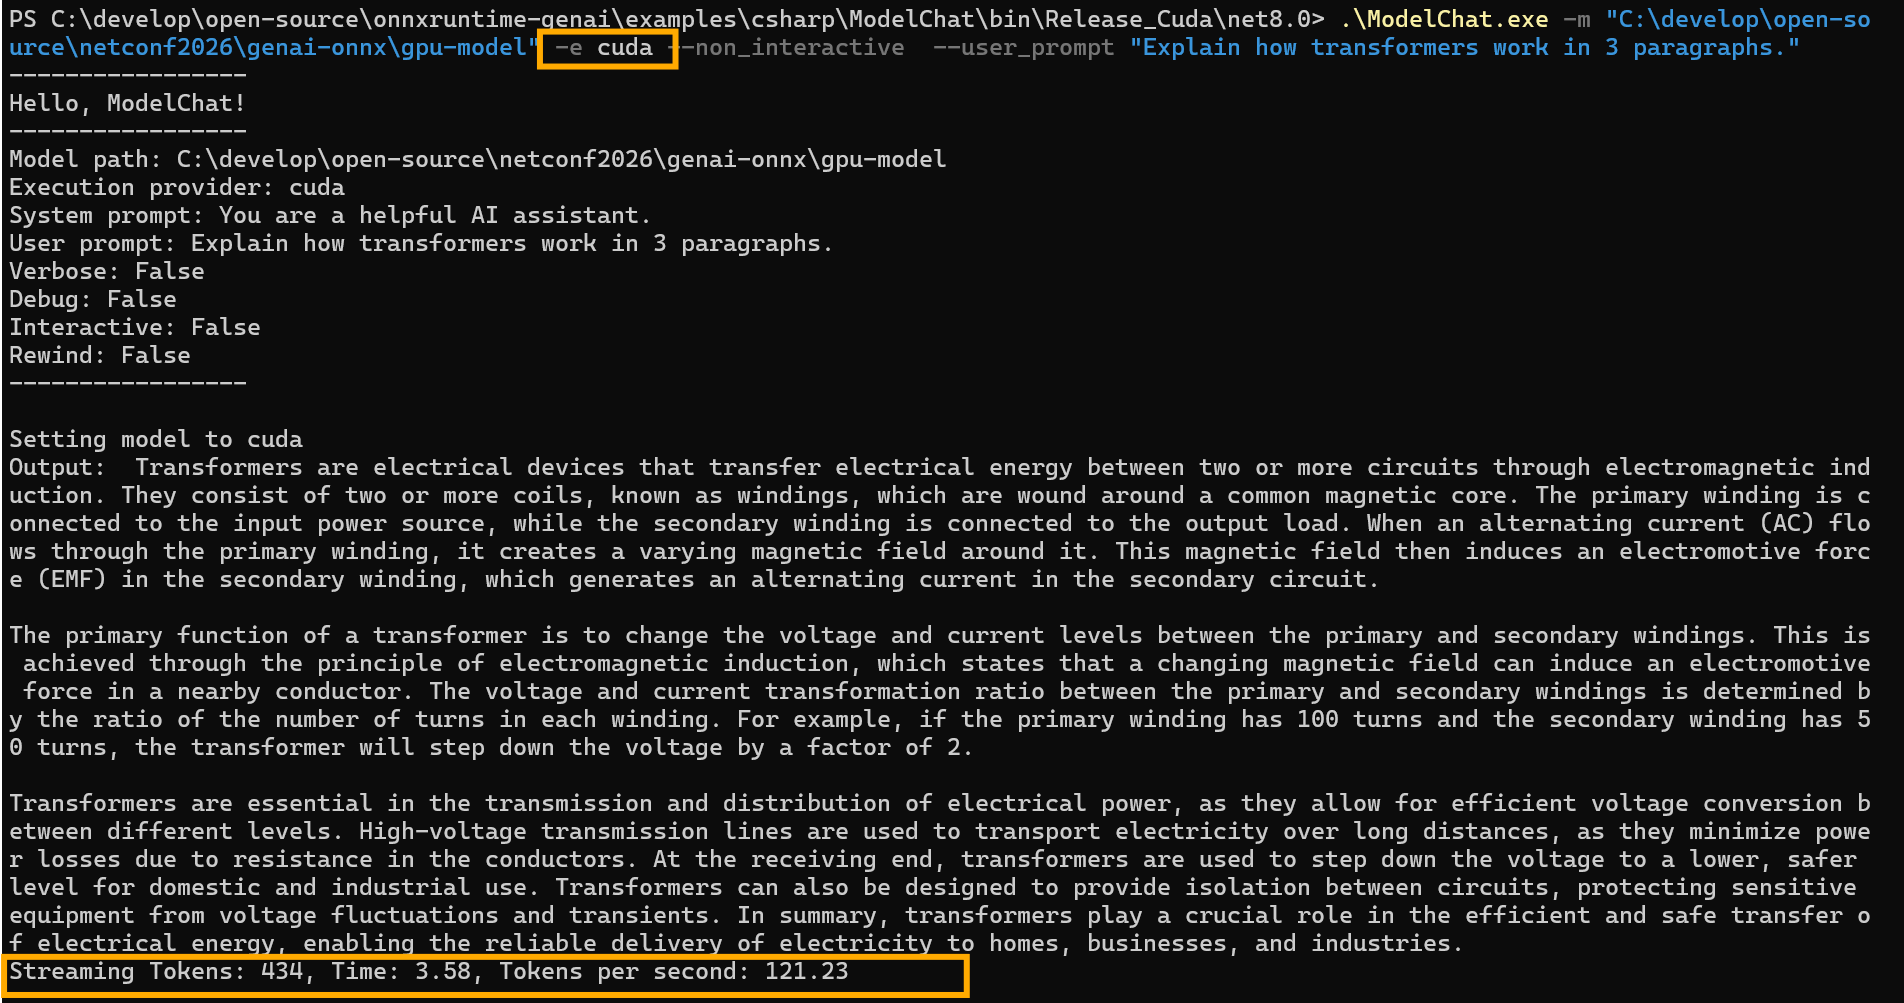
Same 438 tokens in 3.5 seconds — about 121 tokens/s. That is roughly a 7–8× speedup. Smart design, right? Most of the win comes from moving matmul-heavy work off the CPU and onto the GPU execution provider.
Summary
After reading this post, you should understand:
- Why the Hugging Face
cudaONNX build pairs withOnnxRuntimeGenAI.Cudaon .NET. - The four-layer stack: driver → CUDA Toolkit → cuDNN → GenAI CUDA NuGet—and why versions must match (especially on newer GPUs such as Blackwell).
- How little code changes when you switch providers:
ClearProviders()+AppendProvider("cuda"). - What kind of speedup to expect on a small quantized Phi-3 model when CPU and GPU are compared fairly.